How to Set a Safe Temperature Gradient
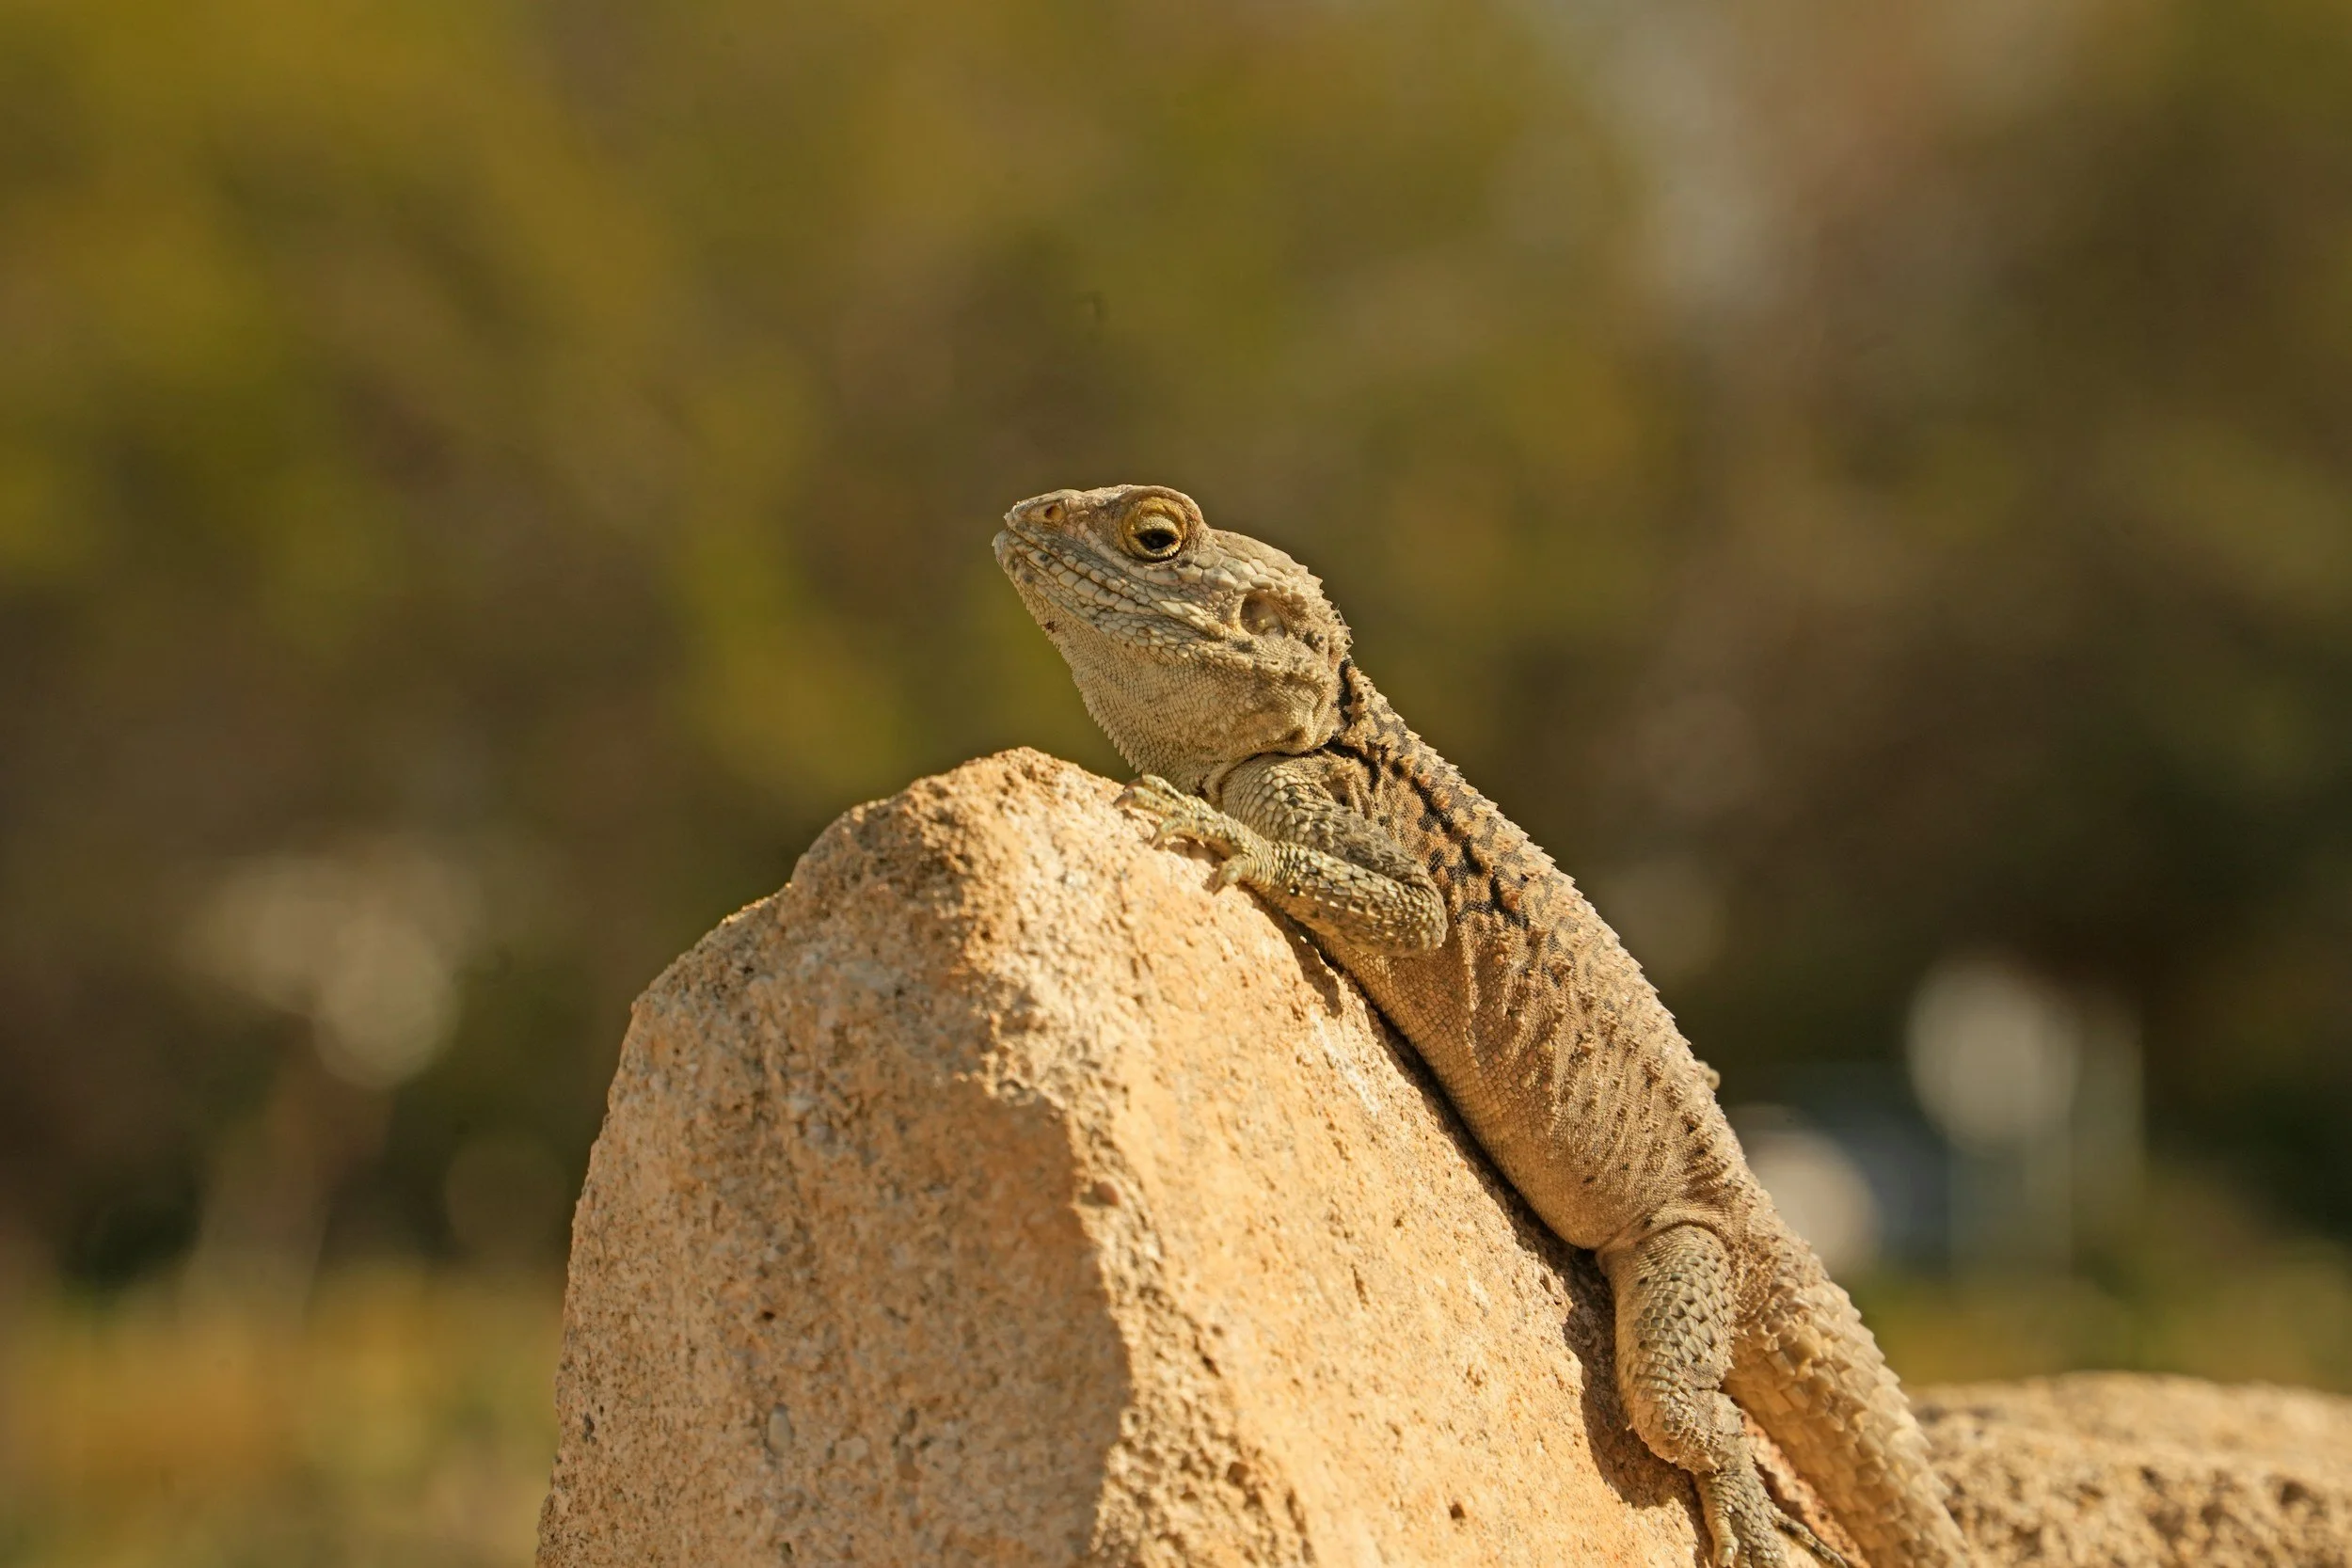
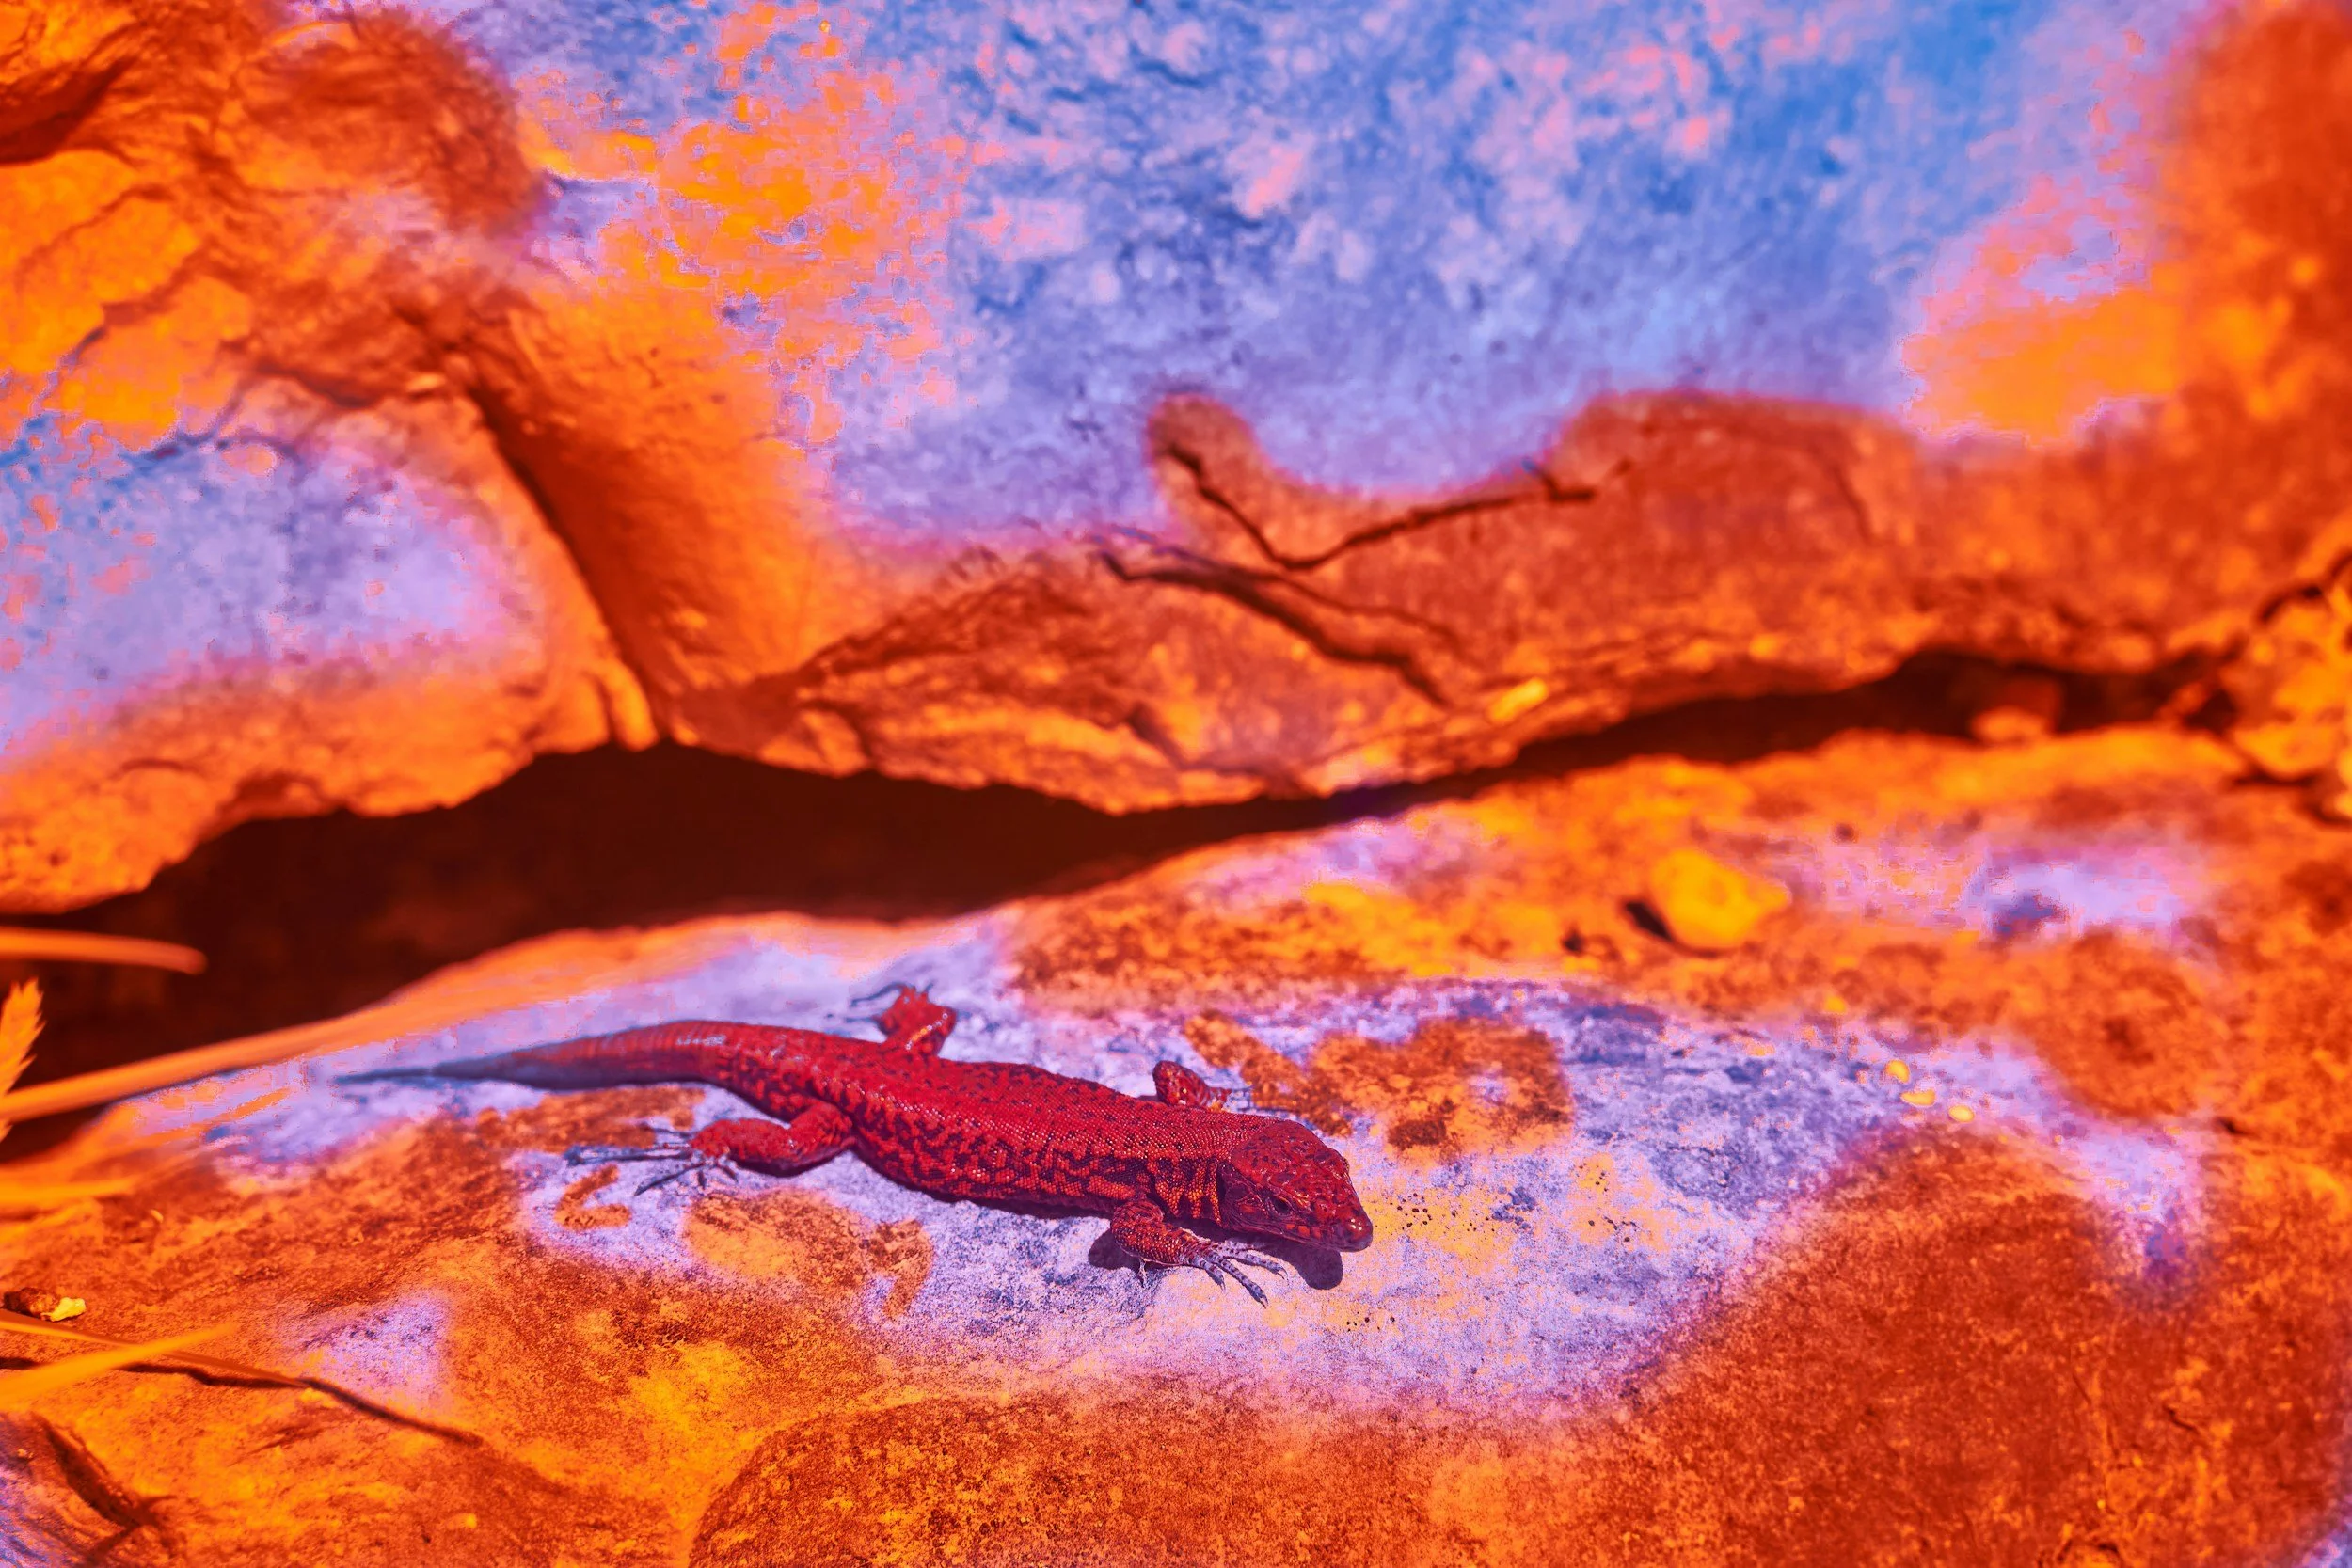
Reptiles thermoregulate by moving between warmer and cooler zones. Your job is to create a stable gradient: a controlled hot spot, a warm side, and a cool side that stay in range all day and night.
1) Plan your targets
Look up species-specific numbers for: basking surface temp, warm-side ambient, and cool-side ambient. Then write them here:
- Basking surface (hot spot): ____ °F (____ °C)
- Warm-side ambient (air at perch/hide): ____ °F (____ °C)
- Cool-side ambient: ____ °F (____ °C)
- Night minimum (if applicable): ____ °F (____ °C)
2) Gear you’ll need
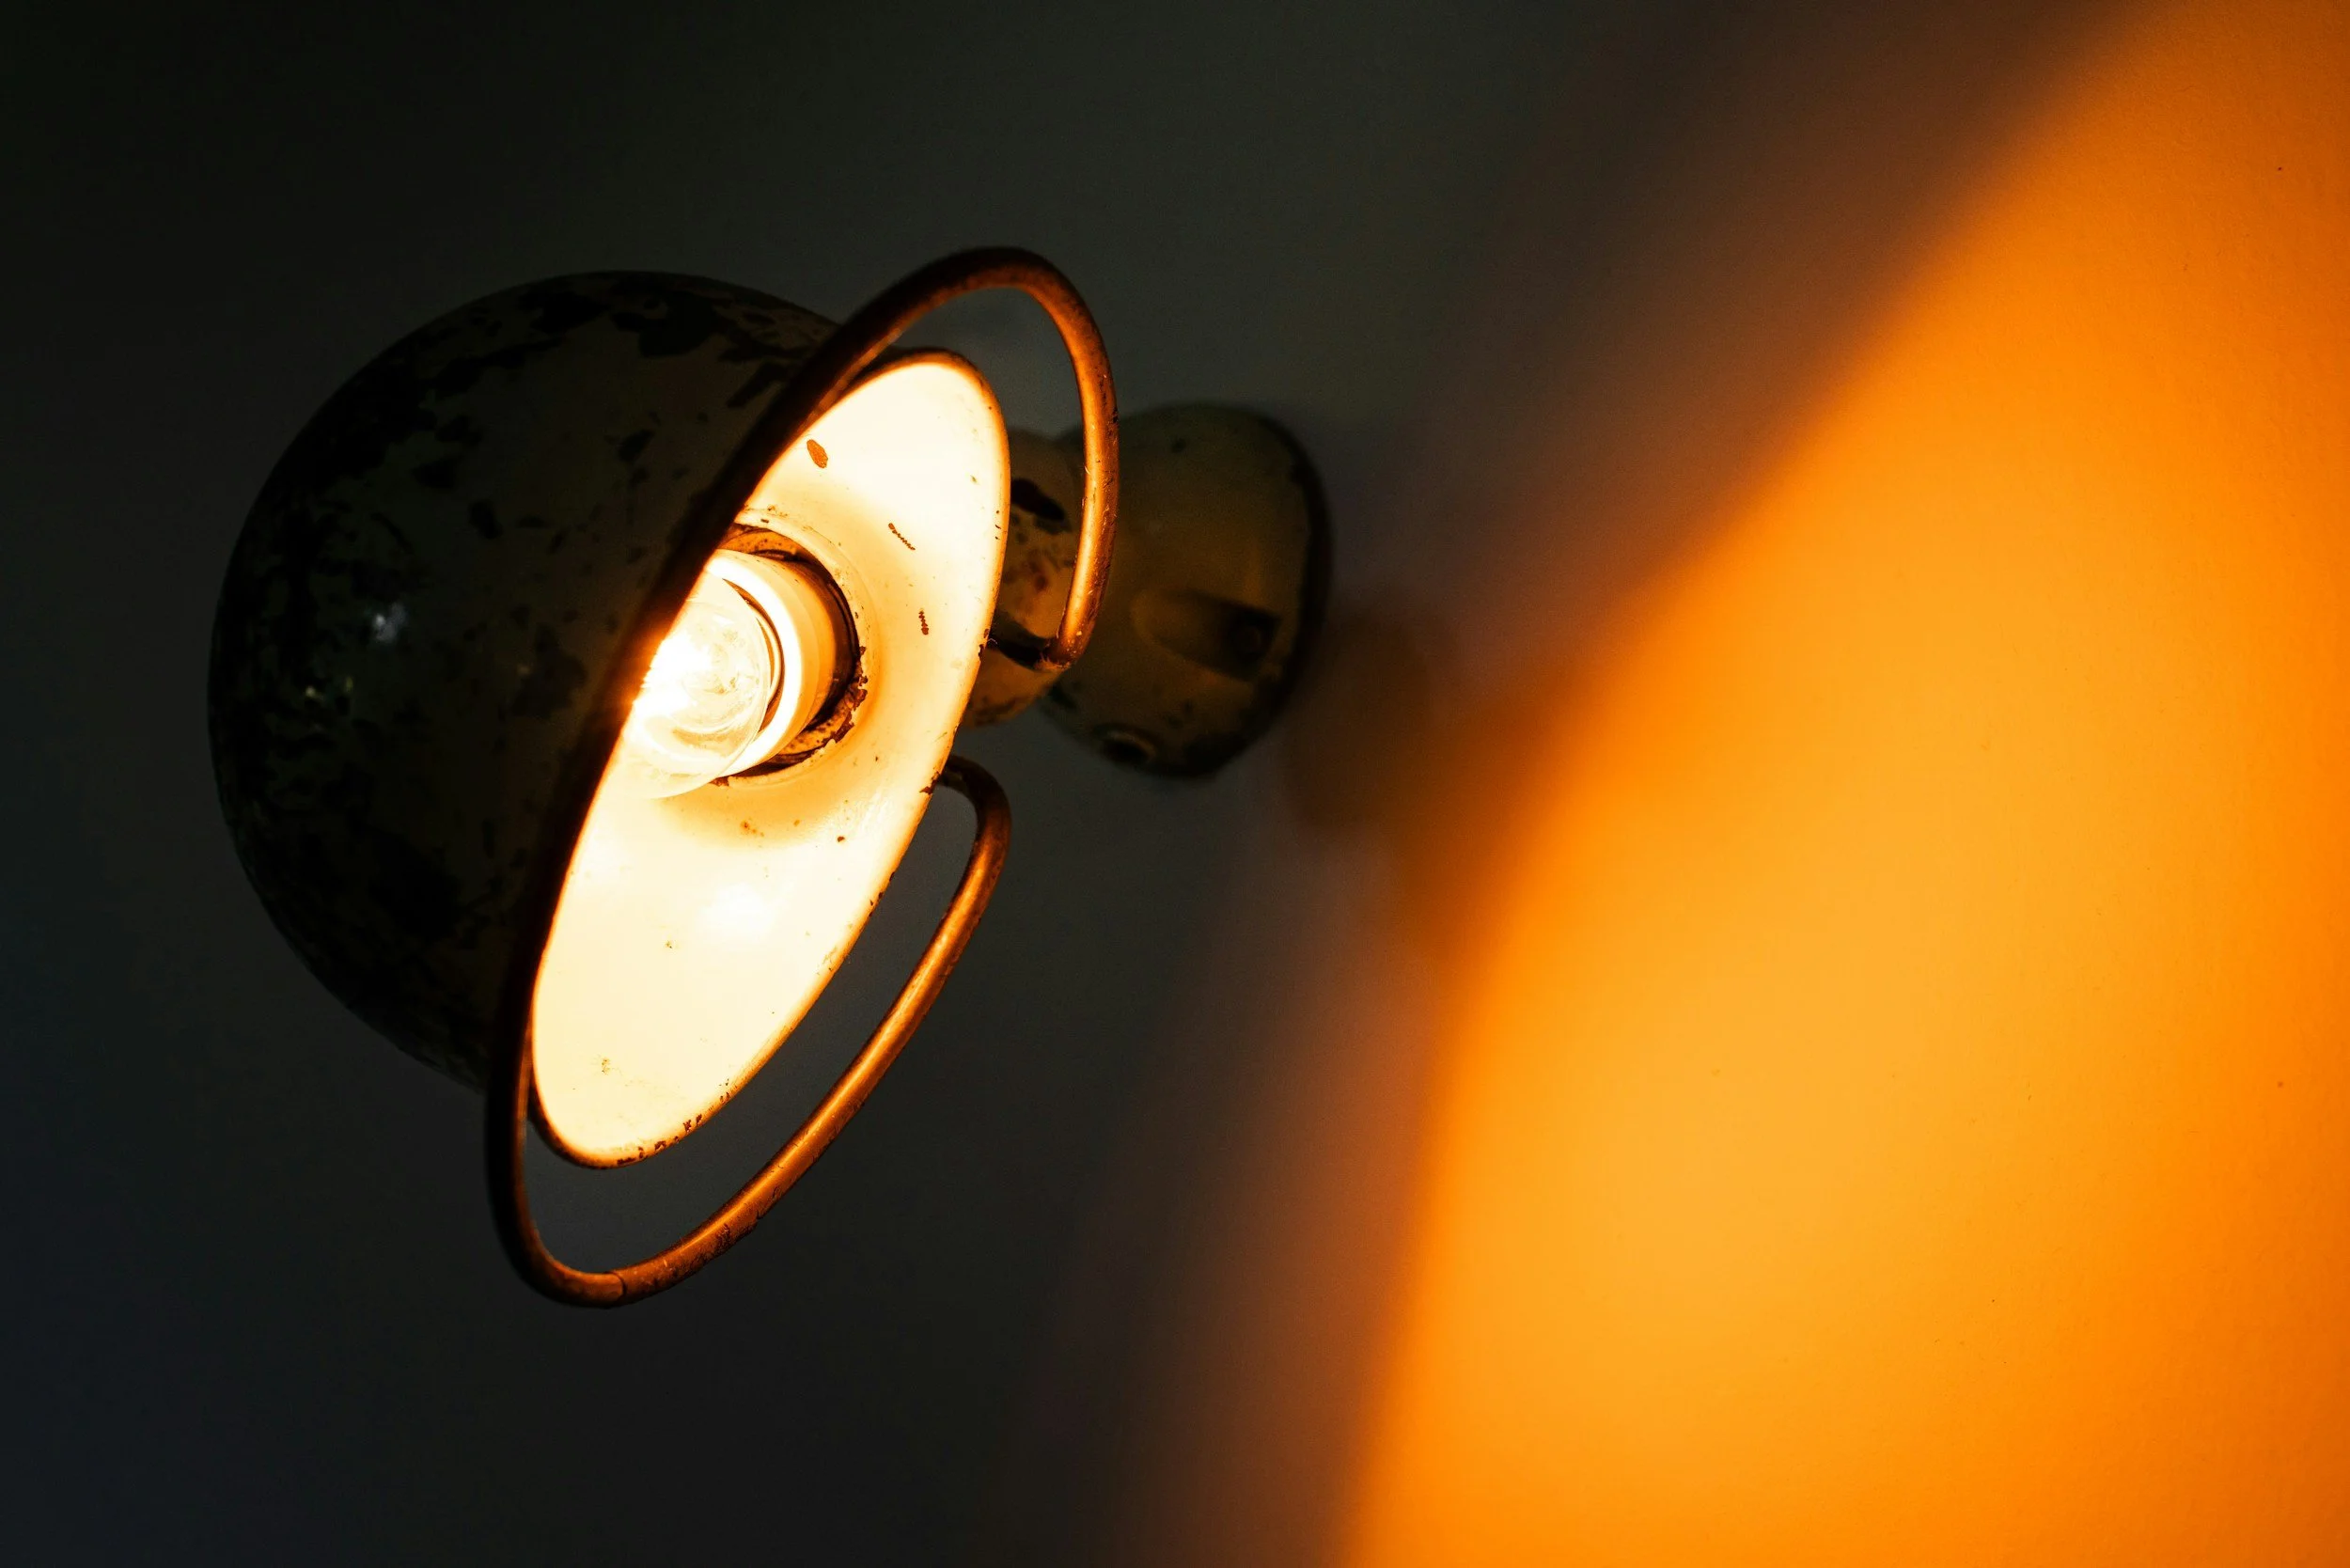
- Primary heat source (choose one): halogen flood/spot, ceramic heat emitter (CHE), deep heat projector (DHP), radiant heat panel (RHP), or heat mat/heat tape (belly heat for appropriate species).
- Thermostat matched to the heat source:
- Halogen/overhead: dimming thermostat (or lamp stand + manual dimmer).
- CHE/DHP/RHP/heat mat: pulse-proportional or on/off thermostat rated for the wattage.
- Thermometers (at least two digital probes) + an IR temp gun for surfaces.
- Lamp stand/guard, ceramic sockets, and GFCI outlet/surge protector.
3) Set up the heat (hot side → cool side)
- Pick a hot-side corner. All primary heat comes from one end/wall to encourage a gradient across the enclosure.
- Mount the heat source.
- Halogen/overhead: suspend on a stand above the basking area; use a metal guard. Start higher than you think—lower later if needed.
- Heat mat/tape: mount externally under the hot-side floor; never inside. Leave 1–2″ ventilation gap beneath the mat.
- RHP/CHE/DHP: mount to the hot-side ceiling with a guard; keep clearance from decor and the animal.
- Place the thermostat probe correctly.
- Overhead heat (halogen/CHE/DHP/RHP): fix the probe at the basking surface (where the animal sits) and shield it from direct radiant strike to prevent false highs.
- Heat mat: fix the probe on the hot-spot floor surface inside the enclosure, directly above the mat under the hide; secure with tape and a tile/hide so the animal can’t move it.
- Create microclimates. Put a hide/perch on the hot side and another on the cool side; add vertical structure for species that climb.
4) Dial it in (baseline, then fine-tune)
- Set a safe thermostat ceiling a few degrees above your target basking surface (e.g., aim 95 °F → set 97–98 °F).
- Warm up for 60 minutes. Measure with the IR gun at the exact basking surface and read both air probes (warm side & cool side).
- Adjust gently:
- Too cool at the basking surface → lower lamp slightly or use a higher-watt bulb; nudge thermostat if applicable.
- Too hot → raise lamp or step down wattage; widen venting on the hot side.
- Warm-side air not in range → add/hide airflow: partially cover top mesh over warm side; ensure cool side has more ventilation.
- Re-check after every change (10–15 min) until basking surface, warm-side ambient, and cool-side ambient are all in range.
5) Verify over a 24-hour cycle
- Log temps at morning, midday peak, evening, and 2–3 a.m.
- Confirm the gradient persists: basking surface on target, warm side stable, cool side not dropping below the minimum.
- Move probes to cross-check other spots (middle height, inside hides). Note the highest and lowest readings.
6) Night temperatures
- If the species tolerates a night drop, program the thermostat or use a dimmer schedule to reduce output after lights-off.
- If nights are too cold, use a non-light-emitting source (CHE, DHP, RHP, or mat) controlled by a thermostat to maintain the night minimum.
- Keep any night heat on the same hot-side end so the gradient remains.
7) Safety & best practices
- Always thermostat-control heat mats, CHE, DHP, RHP, and high-watt lamps.
- No “hot rocks.” They create dangerous point burns.
- Use lamp guards and GFCI outlets; route cords outside climbing paths.
- Re-secure probes after deep cleans; verify setpoints after bulb changes or seasonal shifts.