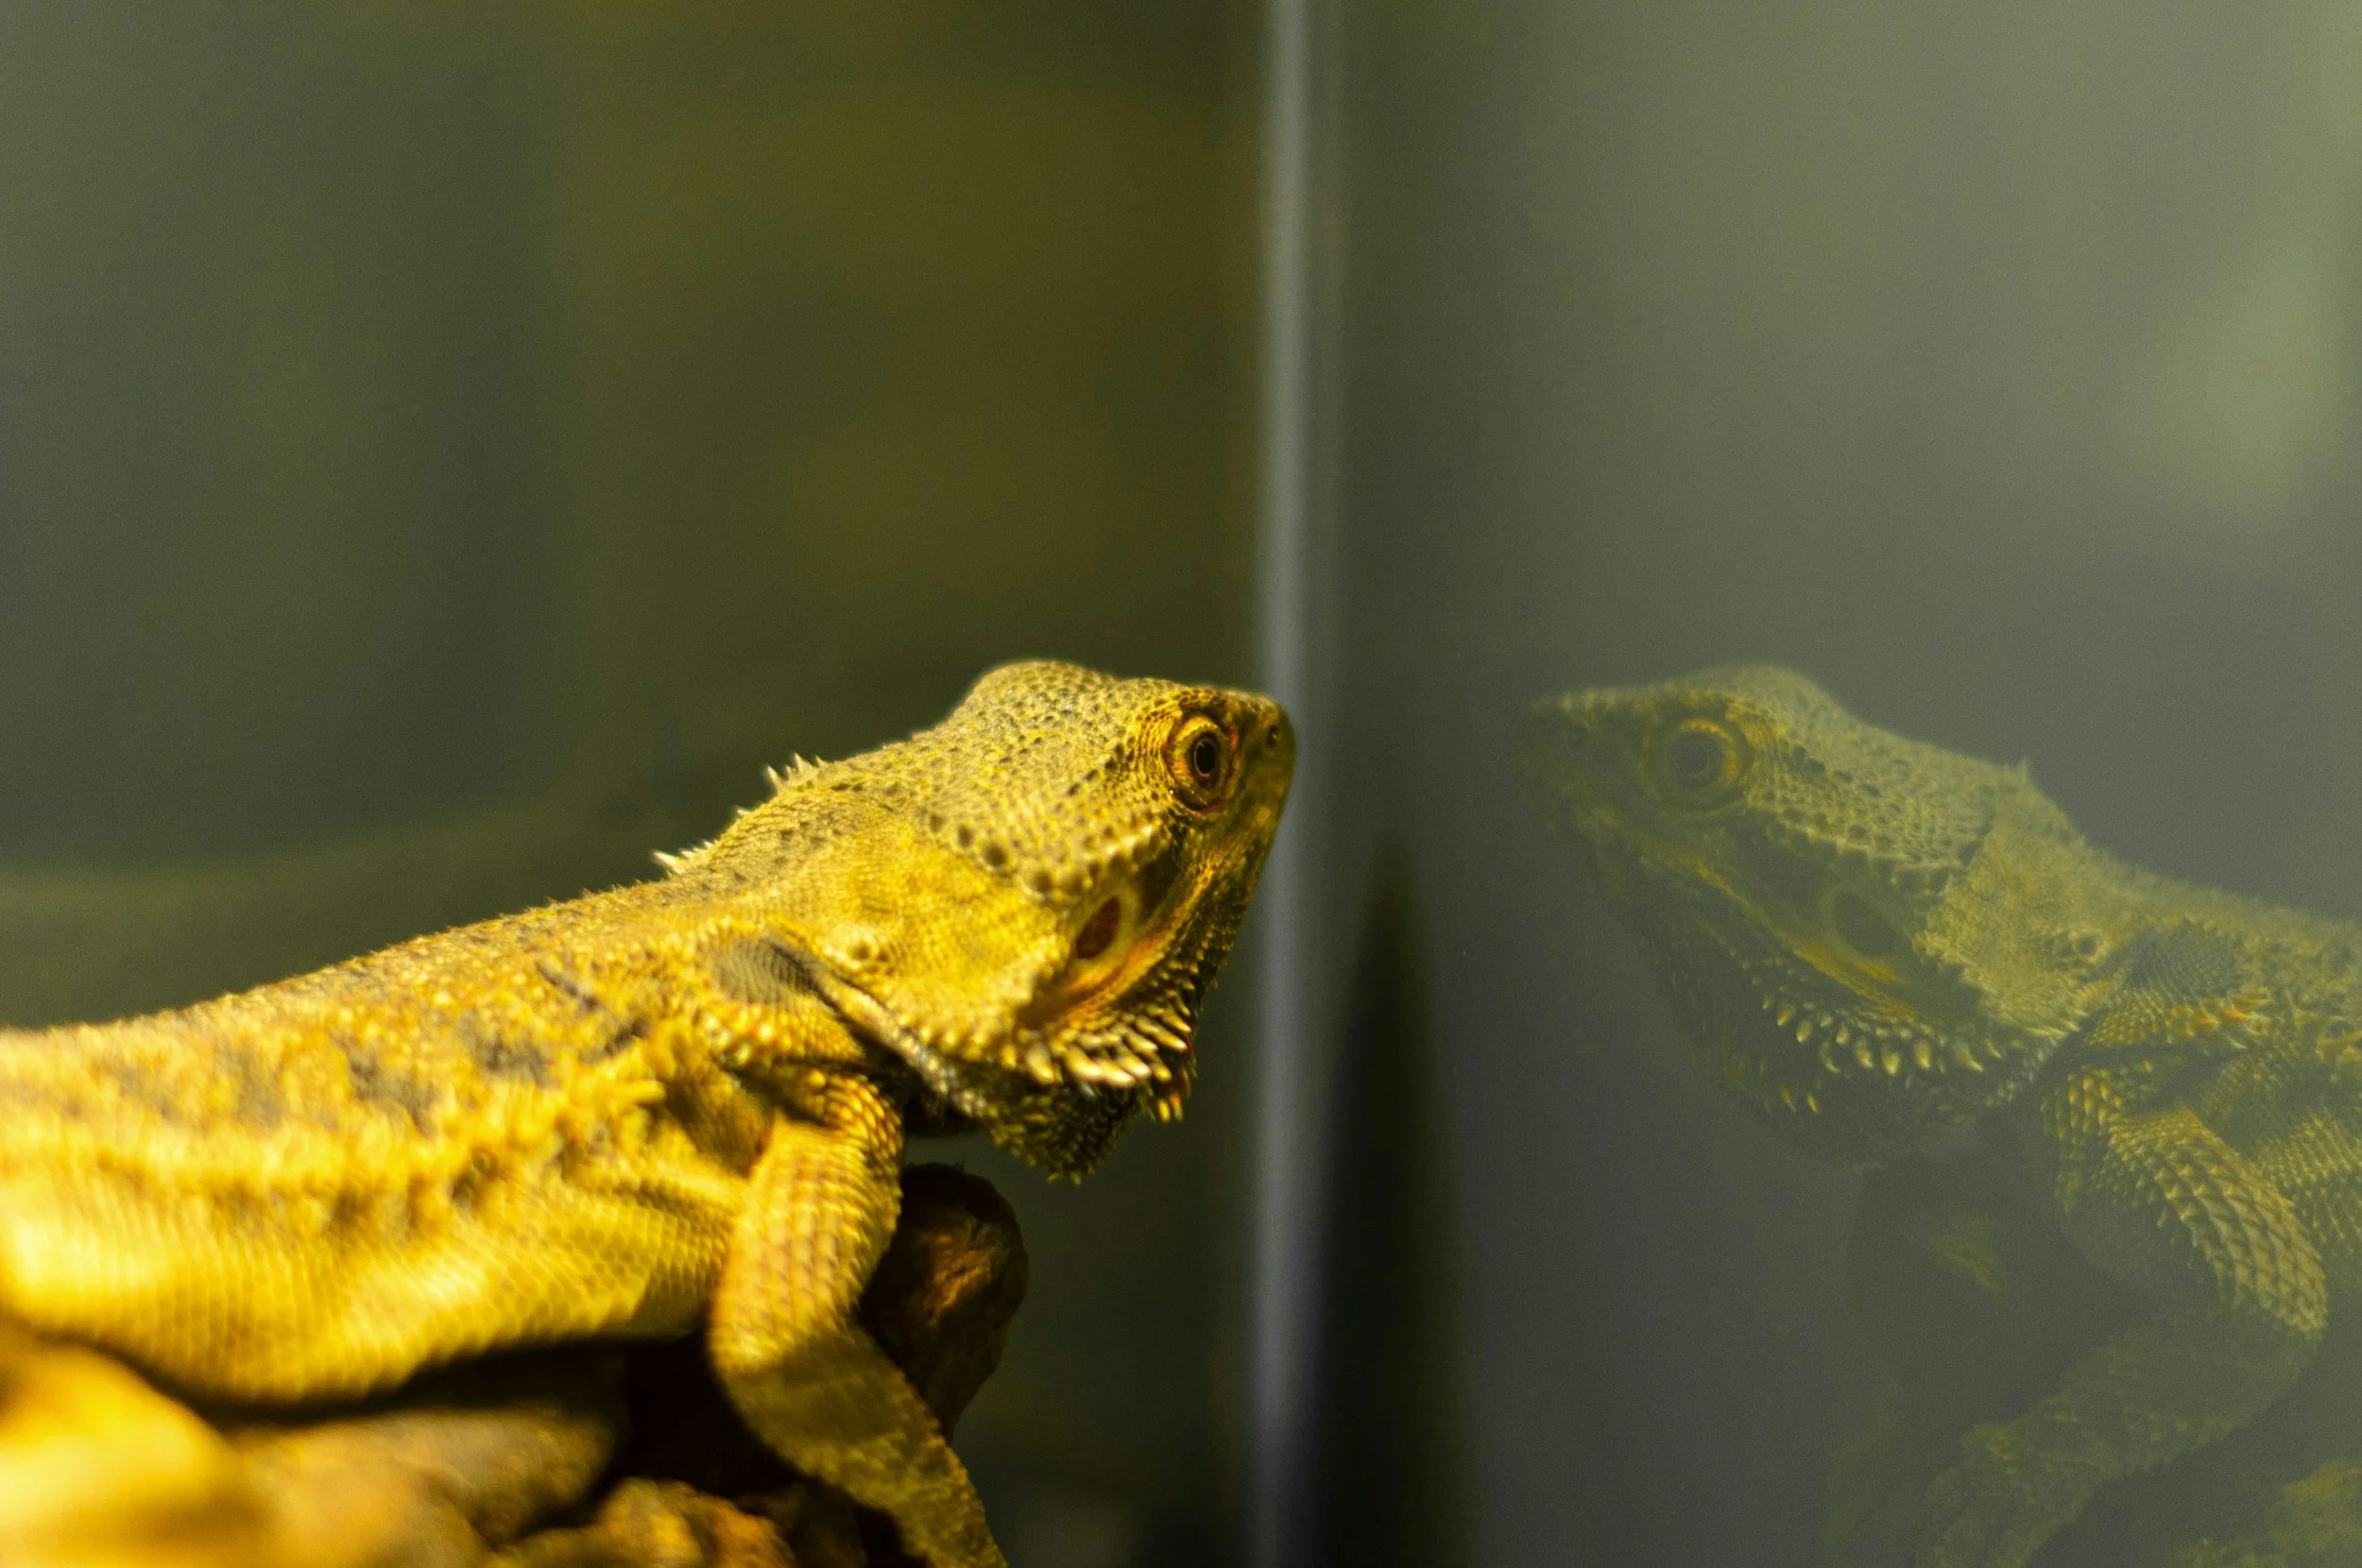
How to Quarantine New Reptiles/Amphibians (60–90 Days)
A proper quarantine protects your existing animals and helps the newcomer acclimate safely. This workflow covers setup, biosecurity, daily routine, veterinary checks, and clear criteria for “all clear.”
1) Set up the quarantine space
- Separate room/airspace if possible. If not, keep the quarantine enclosure(s) on a separate rack or shelf, several meters away from residents, with no shared airflow directed toward established animals.
- Simple, sanitary enclosure. Secure tub/tank with tight lid; paper towel substrate; two hides (warm/cool) or appropriate cover; sturdy water dish; minimal décor you can sanitize or discard.
- Independent heat/UVB. Provide species-appropriate gradient and (if required) UVB using dedicated fixtures and thermostats not shared with your main collection.
- Label clearly. Animal ID, species, origin/date acquired, feeding schedule, weight log, and any meds/notes on the front.
2) Dedicated gear (do not share)
- Gloves (nitrile) & hand sanitizer pump at the door
- Feeding tongs, water jug, cleaning tub/brush, thermometer/IR gun
- Trash bags with twist ties; zip bags for fecal samples
- Disinfectant: chlorhexidine 0.05% or diluted bleach 1:32 (1/2 cup 6% bleach per 1 gal/3.8 L water)
- Sticky traps/white paper cards for mites monitoring (placed outside enclosure, never where animal can contact)
- Scale (gram-accurate) & log sheet
3) Day 0–3 checklist (arrival & baseline)
- Hands–gloves–hands. Wash/sanitize before handling the shipping box; glove up; sanitize hands after removing gloves.
- Immediate visual exam. Note body condition, hydration, respiration, mouth/nose/vent, ectoparasites (mite checks at eyes/chin/vent), wounds, stuck shed.
- Weigh & photo. Record grams and take a reference photo for future comparison.
- Settle in 24–48 h. Provide fresh water and correct temps. Avoid handling beyond welfare checks.
- Collect a fecal sample (when available) and refrigerate (not freeze) in a labeled, sealed bag for the vet within 24 h.
4) Daily & weekly routine (for 60–90 days)
Daily
- Check temps/UVB function; confirm gradient and fresh water.
- Observe appetite, posture, breathing, stools/urates; note any signs (wheezing, bubbles, diarrhea, mites, unusual lethargy).
- Spot-clean feces/urates; replace soiled paper towels promptly.
- Handle only if necessary; keep sessions short and purposeful.
Weekly
- Weigh on the same day/time; log % change week-to-week.
- Deep clean enclosure and hardware with disinfectant (observe contact time: 10 minutes for bleach, per label for chlorhexidine), then rinse/dry.
- Replace disposable décor/hides as needed; re-check for ectoparasites with a white-paper “drag test.”
5) Biosecurity rules (non-negotiable)
- Order of operations: Care for established animals first, quarantine animals last.
- Change gloves between animals; wash/sanitize hands on entry/exit.
- Dedicated tools stay in the quarantine area. Do not cross-use tongs, buckets, misters, or towels.
- Footwear/clothing: Use a change mat or dedicated shoes; launder clothing used in quarantine before re-use around residents.
- Waste out, not through. Bag soiled paper and disposables inside the room; seal before removing; take trash directly outside.
6) Vet & testing timeline
- Initial fecal exam: within the first week (or as soon as a sample is available).
- Follow-up fecal: ~2–3 weeks after any treatment or mid-quarantine if the first was clear (to catch intermittent shedders).
- Pre-clear fecal: during the final 1–2 weeks of quarantine; proceed to integration only after two consecutive clears and no clinical signs.
- Targeted testing as indicated: mites (visual/sticky traps), respiratory signs (culture at vet’s direction), other species-specific tests per clinician.
7) How long to quarantine
- Standard: 60–90 days from arrival and symptom-free.
- Reset clock: any clinical sign (respiratory, diarrhea, mites, failure to thrive) or any treatment restarts the count from the last symptom/treatment date.
- New additions overlap: Do not combine newly acquired animals in one enclosure; each gets its own quarantine and log.
8) “All clear” – ready to integrate
- Consistent appetite & normal stools; stable or increasing weight for ≥4 weeks.
- No clinical signs (respiratory, neurologic, skin/scale lesions) and no ectoparasites on repeated checks.
- Two consecutive negative fecals, 2–3 weeks apart (or per vet guidance for your species).
- Normal sheds/skin condition appropriate to species and age.
9) If problems arise
- Isolate further (double-container, extra distance) and contact a qualified veterinarian.
- Pause transfers of gear/airflow; increase sanitation frequency and contact times.
- Follow the veterinarian’s treatment plan exactly; document doses/times; resume the quarantine clock after the last symptom or final dose (as directed).